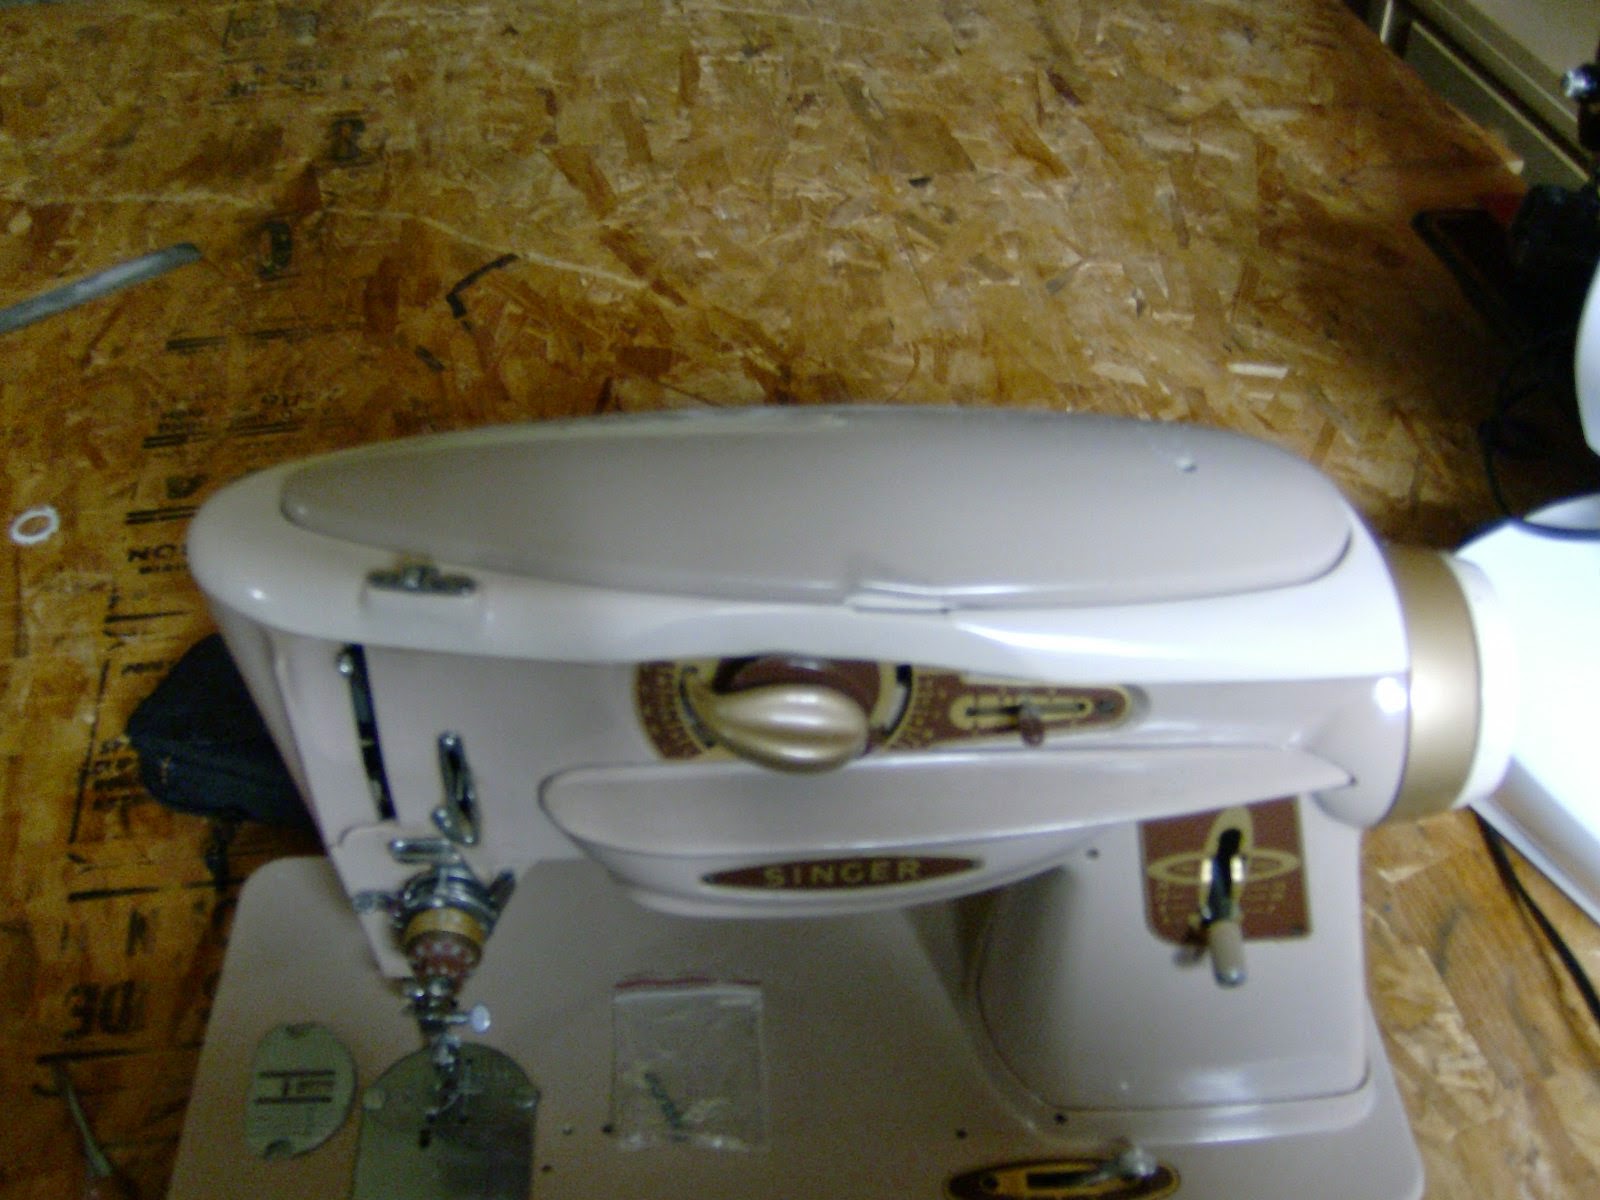
I haven't blogged lately, I have been busy turning this
into this
I delivered it yesterday afternoon and today, Kathie is at the Hershey Quilt Show, so I have some free time to utilize any way I want.
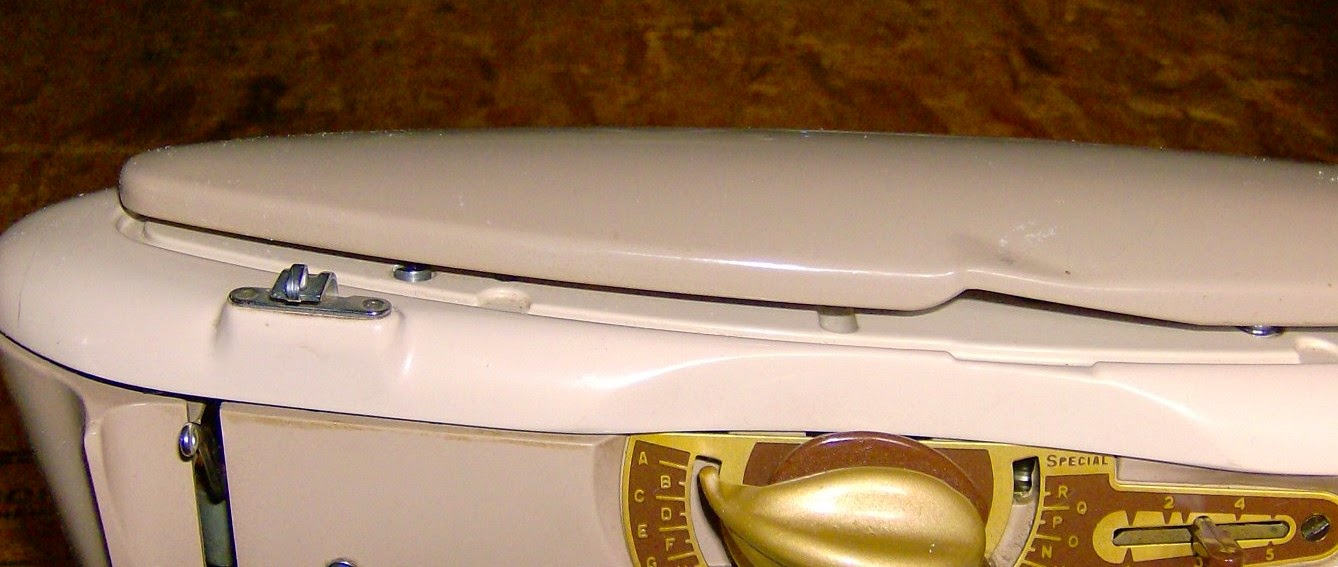
The 500 and 503 model Singers have two spring-up spool pins under the hinged top lid and a third tucked away in a recessed compartment beside the spool pins. These auxiliary spool pins often get misplaced so that the second, third, or fourth owner (us) does not get one with the machine. Pam K asked if replacements were available, another online store owner told her that the replacements would not allow the lid to close. I looked through all my attachment sets and under all my Rocketeer lids and found only one - at least I have a model. The replacement spool pins are a good bit larger than the 500/503 spool pin
and will not fit into the recess in the lid
and do not allow the lid to close.
Being the king of work-arounds and make-do, I accepted this challenge and set out to right-size the larger spool pin.
It seemed easy enough, just shave down the diameter until it fit into the recess. I mounted the spool pin in my drill
and ran it against sandpaper until it was the same diameter as the 500 pin.
Even though the overall diameter was now the same size as the 500 pin, it would not seat all the way down into the recess. Turns out that the pin itself is tapered and too thick at the base to fit into the hole in the pin storage area. I had to file down the lower 1/2" of the pin to a slightly smaller diameter to make the pin slide all the way down into the hole.
Even then, the lid would not close all the way.
The part of the pin that fits into the hole in the lid was too long and I had to cut off about 1/8".
That created a new problem, the section of the pin that goes into the top of the lid was now too short to provide adequate support for the spool of thread. I had to cut off the flange under the spool platform to expose enough pin to seat firmly into the hole.
After only 1 1/2 hours of trial and error, the auxiliary spool pin fits perfectly into the top of the lid,
it nestles perfectly into the storage area inside the lid
and the lid closes.
I don't think I would do it over again, I would just use a separate thread stand but if you feel you "need" that aux spool pin to make your Rocketeer complete, here's how.
Ed's Vintage Sewing Machine Shop


