Showing posts with label Clone. Show all posts

Saturday, May 31, 2014

The No-Name Sewing Machine

A lady dropped off a sewing machine last week. She said it didn't sew, she had tried to sell it and got no takers, so I could have it for parts. This was my first view - a plain, white generic plastic carrying case.  I wonder what kind of machine is in there...


Well, that's unusual, a sewing machine with no obvious badge or manufacturer's name.


Maybe it's on the back...Nope, nothing


I'll tip it over, there's bound to be a manufacturer's logo or JA number...Nope, nothing there, either.


I'm sure it will be on the serial number plaque - Nope, nothing there but a serial number.


Here's the only identification information - a tiny sticker saying, "Made in Taiwan".


Tipping it over to look at the serial number, I noticed that the bobbin case was not installed properly.  That could be why it doesn't sew.


Removing the bobbin case and shuttle, I spied red thread behind the shuttle. Maybe that's why it doesn't sew.


There was a serious burr on the point of the hook, so bad that fine abrasive wouldn't take it off.  I had to clean off the burr with a file, then polish with the fine abrasive.

After oiling, I threaded it up to test sew. First thing I noticed was that the tension did not release when the presser foot was raised. The paddle that presses the tension release pin on the back side of the tension assembly appears to be bent.


I tried to bend it back without removing the whole light/needlebar/presser bar/swing assembly but couldn't get it where it needed to be.  If I couldn't make the paddle reach the pin, maybe I could make the pin reach the paddle.  I disassembled the tension assembly and removed the pin from the front and cut a same-diameter finish nail to about 2-3mm longer than the original pin, that has worked for me in the past.


That still wasn't long enough, I guess I'll have to continue turning tension to '0' to thread the needle until I figure something else out or find a longer finish nail or bite the bullet and remove all the mechanicals to get at that paddle.

On the first test run, it sewed pretty well - a bit noisy, but changing the orange, toothed tractor belt for a smoother version quieted it down significantly.


 I learned that it is a left-needle zig zag machine, at '0' stitch width, the needle sits at the far left end of the hole in the throat plate; as stitch width is increased, the needle swings farther and farther to the right. That configuration makes it tougher for a quilter to judge a quarter-inch seam but having the fabric supported on three sides in straight stitching mode reduces the possibility of the fabric getting sucked down under the needle plate.

Now, I need to use it on a project to see how it performs in the long run.

Ed
Ed's Vintage Sewing Machine Shop

Friday, May 23, 2014

Kenmore 1720

  Last week, a lady called having a problem with her Kenmore Ultra Stitch 12.  When I went to pick it up, she had a second machine belonging to a friend, a Kenmore 1720.


  She said there was nothing wrong with it, it just needed cleaning and oiling.  The machine looks very well cared for and little used but it had a very loud clanking sound when operated.  Except for that noise, the machine ran smoothly and, with the bobbin case /shuttle removed, very quietly so I was pretty certain where the noise was originating from.  I opened up all the panels and oiled everything and, while doing that, found some thread wrapped around the knuckle of the thread take-up lever.

 
  Here's where it gets goofy - AFTER I removed the thread, the machine locked up so tight that the motor wouldn't turn it over and it was difficult to rotate by hand!  I looked for additional thread clogs and re-oiled evrything with no improvement. To isolate, I disconnected the connecting rod that transmits movement from the main shaft to the lower section.


  This cuts the mechanism in half and tells me whether the problem is in the upper or lower section.  It was in the upper section.  Having exhausted all my ideas, I doused the whole upper section with Liquid Wrench and let it sit overnight.  This morning, it seemed a bit looser turning by hand and, after a few revolutions, the motor took over and spun the shaft. I ran in the machine at top speed for about a minute and all the binding is gone.  I have no idea where the problem was.

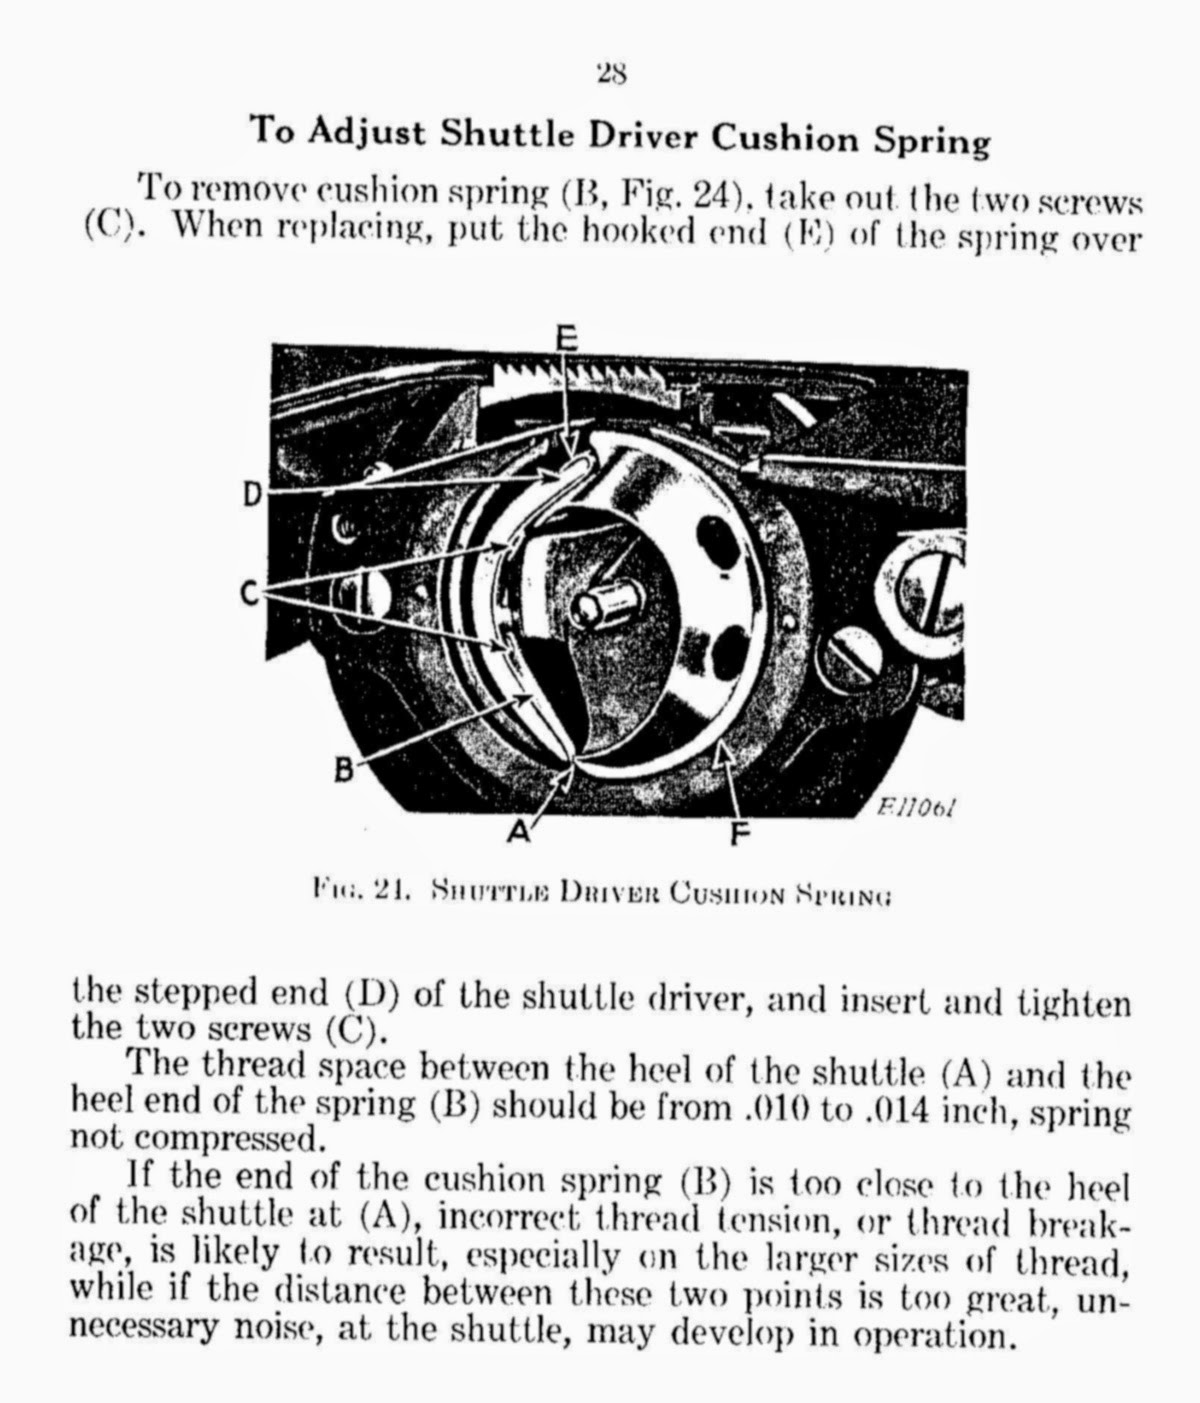
Then on to the noise in the shuttle area.  The thread gap between the tip of the shuttle cushion spring and the shuttle should be just over the thickness of thread but this one was a good 1/8 inch.

  That explains the noise!  I went to bend the cushion spring to narrow the gap and found that there was no end - the end of the spring had broken off.


I rummaged through all my parts bins and could not find a single cushion spring. Apparently, that is something that needs replacing so seldom that I haven't kept any spares.  Then I remembered the Julia I am parting out still has the cushion spring so I cannibalized it but it is too long to work in the Kenmore.  Fortunately, my parts source has the springs and attaching screws in stock, so I can order replacements.

Ed
Ed's Vintage Sewing Machine Shop

Monday, April 21, 2014

Lower Tension Adjusting

My Necchi Lelia was giving me some loose stitches yesterday.  Adjusting the upper tension and presser foot pressure had no effect, so I pulled out the bobbin case and checked the tension on it. I have a spring tool that supposedly tells the proper upper and lower tensions 


but I have used it before and am not happy with the results. 
Tension always seems way too tight after adjusting to the tool's marks. 

I read somewhere on the internet that proper Class 15 bobbin case tension could be found by filling a bag with just under 1 1/2 ounces of sugar and hanging that bag of sugar from the bobbin thread.  Not wanting to keep a bag of sugar around to invite ants, I opted for a bag of metal washers instead.


I broke out my cheap-o balance scale 


and measured out 1 1/2 ounces of washers and put them in a zip-lock bag.


Adjust the tension screw on the bobbin case until the bag of sugar slowly drops. If the bag stays suspended, tension is too tight; if the bag drops like a rock, tension is too loose.  


When you have the adjustment just right, re-insert the bobbin case in the machine and adjust upper tension to achieve a balanced stitch. 

I adjusted the Lelia's bobbin tension until the bag dropped slowly and put the bobbin case back in the machine. Stitches were ALMOST perfect, maybe just a tiny bit tight - I had to increase upper tension to '5' to balance the stitches but it gives me a starting point. I will remove washers from the bag one-by-one until I have a measuring device that gives me the result I want.

My next thought is to use some of that left-over spring wire to make a homemade tension scale.


Ed

Monday, July 08, 2013

Simplex


  I picked this machine up at the dump over a year ago.  The cosmetic condition and complete decals caught my eye and I tossed into my minivan. The attendant assured me that the facility has an unbeatable return policy. I plugged it in when I got home and learned that it was very noisy and did not sew. I didn't have time to fuss with it then and put it on the shelf and forgot about it. Yesterday, I pulled it out, hoping I could find it non-repairable and use its disposal to lower the size of my collection (hoard?)


The badge says Simplex Sewing Machine Company, Washington DC but tucked inconspicuously under the motor is, "Made in Occupied Japan". That places it's manufacture date between 1945 and 1952 and from some of the features, I would place it towards the end of that period.


I can't find a JA Number, but "TSM" is cast into the under side of the bed. If anyone knows what that means, please comment (Toyota Sewing Machines?) Toyota began producing 15 Class sewing machines in 1946, according to their website, so it's altogether possible that this machine was made in their factory.

Many things were wrong with this one! The only things I was surprised to find in perfect adjustment were the needlebar height and the thread gap between the shuttle driver and the shuttle. There is no shuttle cushion spring on this model, so the shuttle can become noisy fast if that gap is not correctly adjusted.

1. There is a roller in the feed dog circuit, just above the hook assembly. It was frozen and the follower was sliding, rather than rolling. 


2.  The upper tension was assembled incorrectly.
3.  The check spring was bent totally out of shape.
4.  There was so much lint packed between the rows of teeth on the feed dog that the feed dog could no longer rise high enough to feed the fabric.
5.  The feed dog height was out of adjustment (possibly because of #4 above).
6.  The feed dog was not centered in the slot.
7.  There were several loose mechanical connections and pivot points. One in the feed dog circuit made the stitch length lever vibrate when sewing.
8.  The motor was so dry, it chattered when running.

Every defect corrected just led me to another, a very fun afternoon.

I will probably never get rid of this one, no one seems to want vintage sewing machines that don't come from one of the big manufacturers - Singer, Bernina, Pfaff, Necchi, etc. but it gave me an afternoon of satisfying tinkering, I didn't have to replace any parts except the bobbin case, and I can always return it to where I got it.