
You bought a new foot control and want to connect it to your current cord; you bought a new cord and need to connect it to your current foot control; you bought a new cord and foot control and they came to you as separate pieces. The following should help you get that sewing machine running.
I used a vintage Necchi foot control in my example, but you should be able to decode your foot control, once you get it opened up.
Not all vintage foot controls look the same, but all 2-wire controls operate essentially the same – electrical current flows into the control; a resistance of some sort (carbon pile, resistance wire, etc) reduces the size of that current and sends it out to the motor.
1. Disconnect all electrical power before starting to avoid the possibility of shock or fire!!!
2. Tip the foot control over and locate the screws holding on the bottom cover.

Many vintage Asian-made foot controls have covers that just slide off, rather than being screwed on. I won’t discuss modern controllers because there are YouTube videos covering them. Remove the screws or slide off the bottom cover. Now is the time to look at any cushions surrounding the screws and obtain replacements for missing or deteriorated cushions.
3. If there is an insulation plate, remove it and set aside. Not all foot controls have them.

WARNING: Some controllers contain a capacitor to filter out radio noise. They usually look like small tin cans. Capacitors can store electricity, so do not touch the connection points to avoid shock.
4. At this point, look around for pieces that might fall out and get lost. This controller has a spring that is not attached in any way, some button controllers have an actuating button that can fall out. Remove any loose pieces, noting where they go so you can get them back in the right position.


5. You are now ready to disconnect the old cord, if there is one. Just unscrew the two screws and lift the wires off.


Preparing the New Cord
6. If the cord you are installing has terminals installed, skip to step 12.
7. Since you’re still here, your cord does not have terminals installed.
7. Since you’re still here, your cord does not have terminals installed.

Terminals are available at Radio Shack and many hardware and home stores. I got mine at Harbor Freight and Lowe’s. Terminal sizes are denoted by the color of the insulation sleeve. For the size wire used by sewing machines, pink or red insulation sleeve is appropriate.
8. Strip about ½” of insulation from the wire ends.
8. Strip about ½” of insulation from the wire ends.

9. Insert the end of the wire into the terminal so that the wire insulation is well inside the terminal’s insulation sleeve and the stripped end of the wire peeks out beyond the end of the insulation sleeve.

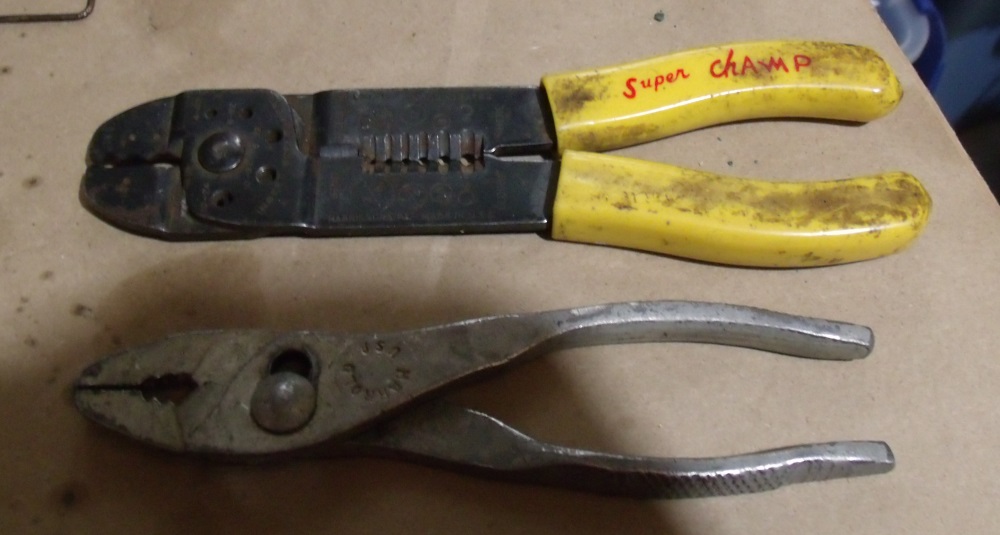
10. You can crimp the terminal with ordinary pliers, but a better result will be achieved with wire crimping pliers, like these with the yellow handle.
11. Crimp the terminal close to the end of the insulation sleeve that covers the stripped wire end. You want the terminal to connect to the stripped wire, not the insulation.

Installing the Cord
12. Installation is the reverse of removal. If you have space inside the controller, tie a knot in the wires to prevent them from sliding out through the exit hole. Connect the two wires to the two terminals. It makes no difference which wire goes to each terminal, a resistor can’t tell the difference which way current is flowing.

13. Route the wires so that they do not interfere with any moving parts and out through the exit hole, slot, or whatever is there.
14. Replace any loose parts you removed in step 4.
15. Replace the insulating pad, if your controller has one.
16. Replace the bottom cover.
17. Connect to your sewing machine and Sew!
Ed
3 comments:
I have an extra made in UK foot controller but the connection is the wrong style for my 600 T and S, can I just switch the connection with one that will fit the T and S.
The part number I have is 102949-001, volts 95-145, Amps 0.7it has a three point connection.
Unfortunate for me, you don't ship worldwide. :(
Post a Comment