Showing posts with label Touch & Sew. Show all posts

Tuesday, September 08, 2015

Singer Auto-Reel


  This week, I had the pleasure of working on the first model of Touch & Sew made by Singer.  It is a model 600 but the model number is not displayed in the usual place, it just says "Auto-Reel" and the wind-in-place bobbin is placed in wind mode using a push-down button.


  Later versions of the 600 and its descendants had the winding mechanism actuating button under the slide plate.

  When I saw the machine, I assumed there would be little to do other than oil and grease because it looks as though it has been used very little.  No paint chips, scratches, needle strikes, or other signs of wear.  It was noisy running, indicating that some time had passed since its last lubrication, so that's where I started.  After oiling and greasing, I tested the various functions and found that (a) the release mechanism was not latching and


 (b) the needle would not return to the right in zig zag.

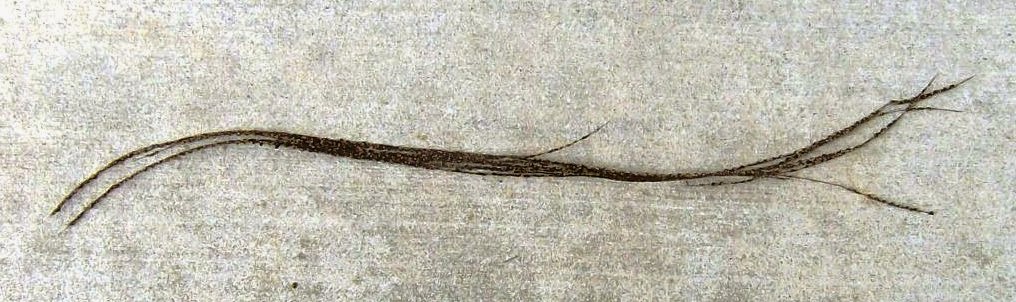
  The zig zag problem was easy to figure out, there was a broken spring lying in the bottom of the housing.


 I couldn't find a new replacement and none of my parts machines used the identical spring, even though the part number for the spring in the 500 is the same.  I found a similar spring in my parts bin that was longer and cut it down to the same length as the old spring.

  After replacing the spring, the release mechanism would still not latch and clattered back and forth with every rotation of the shaft.  The service manual tells how to adjust that mechanism but says, "Be sure stitch pattern selectors are properly engaged.  Otherwise, machine will not engage when in operation." I looked at the pattern selectors, and, sure enough, the lower selector was not popping out when moved to position "A".


  I started tracing out the mechanism to find the reason and saw that the rear index pin was full of crud


and I assumed that the lever would not lock into the slot because of that. 

  After removing the index pin, cleaning, reinstalling and readjusting, there was no improvement.    The cam followers were at the correct position but the indicator on the front of the machine was not.  When the cam followers were in the straight stitch position, the indicator read "C" instead of "A".  Back to the service manual and adjusting the indicator.  Once the indicator and the cam followers agreed, the selector button popped out as it should and everything worked fine, sort of.


  On to testing the stitches and I noticed there was less than 1/4" clearance under the presser foot.  Normally that is an easy adjustment, but on this series of machines, the presser foot pressure adjuster


must be removed to access the presser bar clamping screw. 


  Removing is not a problem, reinstalling is a bit troublesome.

  With all those adjustments and repairs, straight stitch worked properly but zig zag would only catch on one side.  That normally means that either the presser bar height is incorrect or the hook is not timed to the needle.  In this case, it was the hook timing.  When the hook point was supposed to be even with the needle, it was about 10 degrees off.


  After spending much of my Labor Day weekend tinkering with this machine, today I finally put it all back together, wiped off the greasy fingerprints and sewed a successful test swatch.  I hope the next one is a bit easier, although I enjoyed the challenge and learned a lot from this one.

Ed
Ed's Vintage Sewing Machine Parts Store

Monday, September 01, 2014

Singer 615U

On my second trip to a new thrift shop in town, I spotted a modern-looking cabinet.


The cut-out in the top told me it was a sewing machine cabinet and it was so modern, I wouldn't have given it a second look, except for the SINGER nameplate on the door.


The machine inside turned out to be a 615U, a 1968 Touch & Sew made in Japan.


The cosmetic condition is exquisite although I am not too crazy about the gaudy blue plastic faceplate.


It had the instruction manual and a unique attachment box. Most of the attachments are still in their original plastic envelopes.


The store owner plugged it in and ran the motor and that's when I noticed that the hook was not rotating.  Anxious to demonstrate my extensive knowledge, I told him it had a broken gear.  Imagine my embarrassment when we opened up the bottom plate and found that this model does not use gears to transmit rotation from the upper section to the lower, it uses a cogged timing belt.  Here is what remains of the belt.


I didn't make any decision that day, I came home and checked the internet to see if a replacement belt is available and it is, so I put one in my cart.  Yesterday, I stopped by to see if anyone had taken the machine for parts and it was still there.  The owner said he would take $15 but I was with Kathie, so I couldn't take it then.  This morning, Kathie was at a sew-in so I went to the store and picked it up.

Except for the belt and the camstack, it is all metal inside.  Everything is clean and rust-free, even though the dropping feed dog and one of the cam selectors are frozen, common ailments on old sewing machines.


The machine is in such nice condition that I would like to get it running but the idea of replacing that timing belt has me nervous.  I have yet to find instructions anywhere in my service manuals or on the internet.  The lower pulley is easy, it is at the end of its shaft


but to get the belt over the upper pulley, the belt has to go over the main shaft.  It would be nice to know if I can remove the rear bushing and slide it in that way or if everything on the main shaft has to be removed or loosened so the shaft can be slid out far enough to insert the belt from the top.  If anyone can provide guidance, please do.

The jury is still out deliberating whether to invest in a belt and try to replace it or just carve the machine up for parts

Saturday, April 19, 2014

Spool Holders

If you have a vintage Singer Touch & Sew, you probably have noticed that the spool holders have lost the foam pads that hold the thread spool from spinning and rattling.


Replacement pads are available,


but I am always looking for ways to re-use something around the house, rather than buy new.  When we got our new family room furniture, I went to Wal-Mart and picked up a package of 1 1/2 inch felt pads to protect the hardwood floors from scratches. 


There are still about 10 felt pads remaining in the package and they looked about the size of the spool holder pads, so I decided to give it a try.

Using my 50-year-old high school geometry knowledge, I got out a compass and marked the center of the felt pad. 


Then, using the largest adapter on my leather punch,


I punched a hole exactly in the center of the felt pad.


I cleaned the remaining sponge from the spool holder


and mounted the peel-and-stick pad to the spool holder.

And here it is, all ready to go. 


Now I have to look through my stash of felt pads to see if there is one the correct size to renew the small spool holder.

Ed

Ed's Vintage Sewing Machine Shop